


-edit")


If you’ve been following me for a while, then you know that during the pandemic, I started designing and selling Motherhood Stickers after the loss of our two pregnancies. It was a very therapeutic activity for me, especially with no weddings or events to edit, and I found joy in helping to support others on their motherhood journeys through those stickers. Recently, I’ve started to get back into designing new stickers with Sticker Mule and have absolutely fallen back in love with the process of it all. As someone who works in an industry that doesn’t usually allow me to have creative freedom, this is a great way for me to explore that creative side of me that got me into the photography industry in the first place.
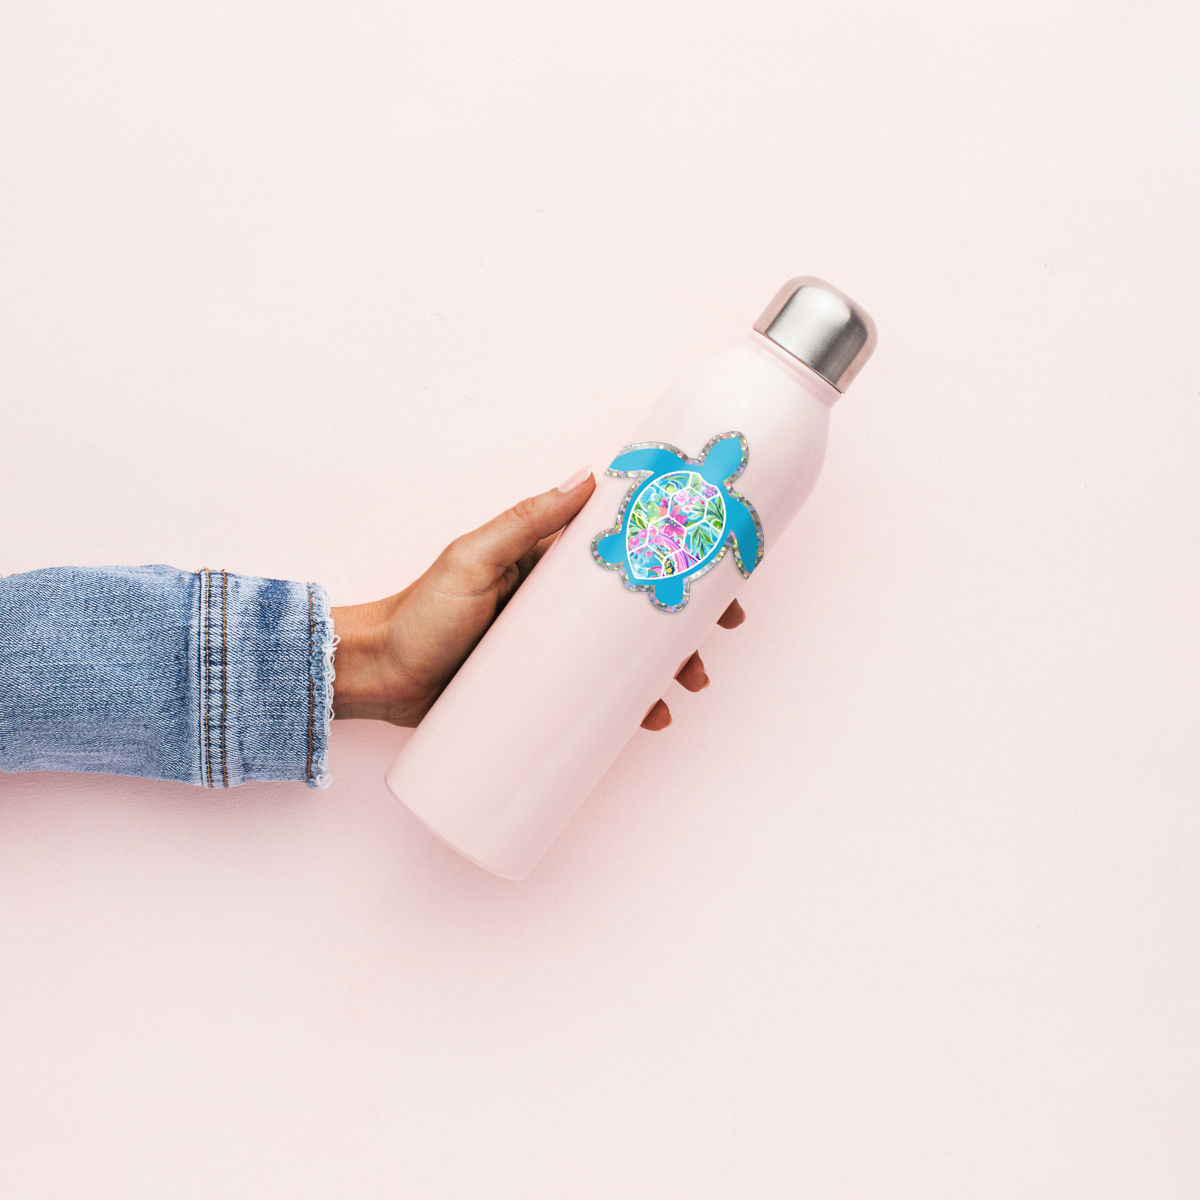
A few years ago, I wrote a blog post about Sticker Mule and how much I loved their high-quality custom stickers. Over the years, I’ve used their branded circle labels for client gifts and packaging, I’ve been selling their die cut stickers and clear stickers for a few years now, and I recently tried their glitter stickers for a gorgeous turtle design (which you can now find in my shop), and I am absolutely in love!

I have never once been disappointed in my experience with Sticker Mule, which is why I highly recommend them to everyone who asks about my stickers. Since I talked a lot about the quality of these stickers in my last post, today, I want to talk about Sticker Mule’s design process and how easy and seamless it is.
Designing Your Sticker
For me personally, I love using Adobe Photoshop and Illustrator to design my stickers. I find that it’s the easiest way for me to get a design exactly how I want it. However, I know that these programs are not the most user-friendly and can be really challenging to use for this type of project. If you are needing some help in designing a sticker, check out Canva. They have some amazing and easy tools for graphic creation and could really be a great tool to design something unique. I’ve also started seeing some people use the assistance of AI in order to create unique designs, though I haven’t had much experience doing that myself.
Submitting Designs to Sticker Mule
Once you’ve designed your sticker, you’ll place your order for your custom sticker through Sticker Mule’s website. First, start with the sticker type, size, and quantity to suit your specific need. The more you purchase at one time, the more money you save! Not to mention if you use my link here, you’ll get a $10 credit for your first order! Once you’re ready to checkout, you’ll be prompted to upload your design to the site, or you can make a purchase and email the art to the design team at a later time.


Sticker Mule’s Proofing Process
After you’ve uploaded your design and made your customization choices, Sticker Mule provides free digital proofs for your approval. This not only gives you a rendered mockup of what the sticker is going to look like, but provides final sizing and other small details that may have changed based on your design. If you order a 3×3″ sticker, the longest size will measure 3″ and the other side will be dependent on your design. This is one of my favorite things about the process, and I appreciate that they take this important step to ensure that everything is just right before sending your stickers to print.
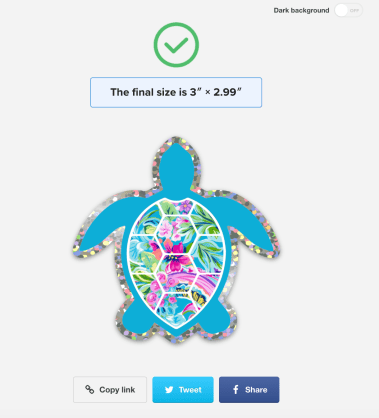

Once you receive your proof (which is usually pretty quickly from the time you submit your design), you can ask them to make adjustments or approve the design for printing. Usually, I don’t have to make any changes after the first proof comes back, but recently I had a case where my initial instructions weren’t clear. Once I got the proof back, I did have to ask for changes, but it wasn’t a problem at all. You can see below that they were very quick to respond and adjust the proof. It was fixed right away and then I was able to approve it for printing!

Shipping
Sticker Mule has FREE shipping on all of their orders, which is amazing! This includes their custom sticker sample packs, which I love to get when trying out new designs. Not only that, but their shipping includes a tracking number and typically arrives very quickly. Usually from start to finish, I’ve placed my order, received/approved proofs, and received my order within 3-5 business days from the time it ships. They are also SO good about keeping you updated on the status of your order.
Final Thoughts
So there you have it! Designing and ordering stickers through Sticker Mule is fast, efficient, and easy. I have loved using them for my sticker needs over the last 3 years, and I hope you all love them as much as I do! Use my special link here for a $10 credit for your first order! Make sure you sign up for their newsletter because each week, they have a new deal on their products! That means you can sometimes get 50 die cut stickers for just $29 — that’s a steal!

If you like this post, you may also enjoy reading:
Canva: My Go-To Design Program
Giving Yourself Grace During Difficult Seasons
Sticker Mule: An Honest Review
Check out my Resource Library for all of the tools I use to run my business! For even more educational resources, follow me on Pinterest and subscribe on YouTube.
Disclosure: Some of the links above are affiliate links. If you decide to purchase any of these resources, I may earn a commission at no additional cost to you. I am receiving compensation for sharing information about Sticker Mule in this blog post, but rest assured, my belief in the quality of their products and services is genuine. I only share products I love and fully support.


+ show Comments
- Hide Comments
add a comment